
Devices
Devices
Connecting Hardware
Plug the Active-Pro pod into a USB port using the included USB-C cable. The application detects the device automatically and adds it to the Devices tab within a few seconds.
No manual scanning or reconnect button is needed. Device detection is continuous, the application always knows what is and is not plugged in.
The Devices Tab
The Devices tab is always visible in the right-side panel (first tab position). It lists all currently connected Active-Pro hardware, up to 10 entries. Each entry shows the device type (Active Debugger, Active-Pro, or Active-Pro Ultra) and its serial number.
Click a device entry to connect to it. The application begins communicating with that device and makes its channels available for capture.
Port Selector Buttons
Below the device list, the Devices tab contains port selector buttons: DeviceA, DeviceB, DeviceC, DeviceD. These are distinct from the device list entries.
- The device list selects which physical USB hardware pod to connect to.
- The port selector buttons navigate between the Active Debug Port ports (A, B, C, D) within the currently connected device, for display and selection purposes in the waveform area.
Active Debugger: Only port A is present and only one selector button is shown. Active-Pro and Active-Pro Ultra: All four port buttons (A, B, C, D) are shown.
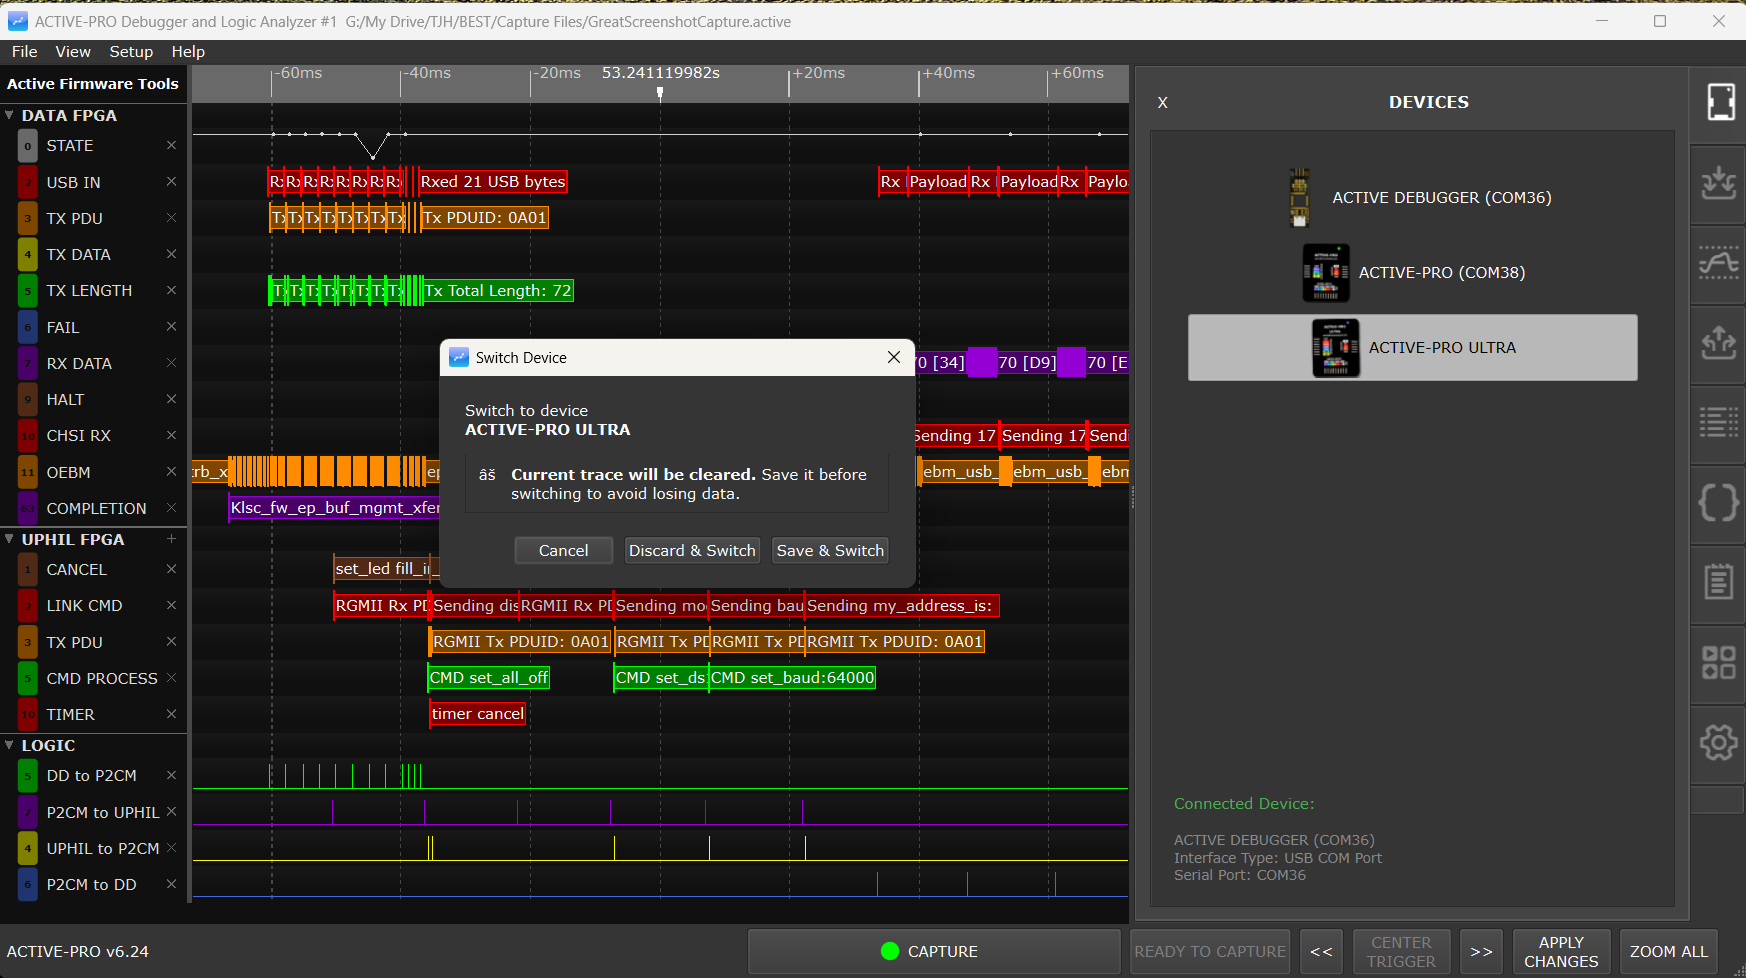
Switching Between Devices
If you click a different device in the device list while a capture is in progress or unsaved data exists, the Switch Device dialog appears.
When the current trace is unsaved, the dialog shows three buttons:
| Button | Description | |
|---|---|---|
| Cancel | Stays on the current device, nothing changes | |
| Discard & Switch | Discards any unsaved capture data and switches to the new device | |
| Save & Switch | Prompts you to save the current capture, then switches to the new device |
When the current trace has already been saved, the dialog only shows Cancel and Switch, since there is nothing to discard.
Switching also resets per-port decoder configuration on the new device to its defaults and clears any attached Custom Decoders, parameters, and pending trigger setup. Re-attach decoders after the switch if you need them.
Multiple Devices, Multiple Instances
Each running instance of the application connects to one device. To use multiple hardware pods simultaneously, launch a separate instance of the application for each. Use the -a N (or --address N) command-line option to select which pod number an instance manages (e.g. ActiveProDebugger -a 2). The accepted range is 1 to 4: values outside that range print an error and exit. The default if -a is omitted is 1.
Each instance uses a different TCP port for the Automation API, starting at 37800 for instance 1 and incrementing by 1 for each additional pod number:
- Instance 1: TCP port 37800
- Instance 2: TCP port 37801
- Instance 3: TCP port 37802
- Instance 4: TCP port 37803
Each instance also stores its capture files in a per-pod-number subdirectory under the working directory. The decoder folder (<working directory>/decoders) is shared across all instances, Custom Decoder .py files are visible to every pod.
Active-Pro Ultra USB Speed Warning
Active-Pro Ultra only
When an Active-Pro Ultra is connected to a USB 2.0 (High-Speed) port rather than a USB 3.x SuperSpeed port, a warning dialog appears at connection time:
"Active-Pro Ultra is connected at High-Speed USB. Connect it to a SuperSpeed port for full capture bandwidth."
The dialog includes a checkbox: "Don't show this dialog again." Checking it suppresses the warning for the rest of the session.
The Ultra will still function at USB 2.0 speed, but the maximum capture bandwidth is reduced. For full high-speed analog sampling (50 Msps) and 500 Msps logic capture, use a USB 3.x port, look for the SS label or blue-colored port.
Firmware Update
Available on: Active-Pro · Active-Pro Ultra (the Update Device Firmware menu entry is hidden on the Active Debugger; the rest of the Setup menu is still shown)
To update the firmware on your connected hardware pod:
- Connect the device.
- Go to Setup > Update Device Firmware.
- Follow the on-screen steps.
The application downloads and programs updated firmware to the device. The status bar progress bar shows the current step (e.g. Erasing flash, Programming Firmware 42%, Downloading FPGA). Do not disconnect the device during the update. Updates are incremental, the application checks whether the current firmware version matches the latest available and only programs if an update is needed.
Tip: Keep your firmware up to date. Firmware updates often improve capture stability, add support for new decoder modes, or increase sample rates.